
Unwanted objects show up in videos more often than people expect. A stranger walks through the frame, a logo sneaks into the background, or a random object pulls attention away from the subject. In photos, fixing this is usually simple. In video, it’s trickier—because every second is made of many moving frames.
This guide walks through five practical ways to remove unwanted objects from video, explaining what each method does well, where it struggles, and when it’s worth using at all.
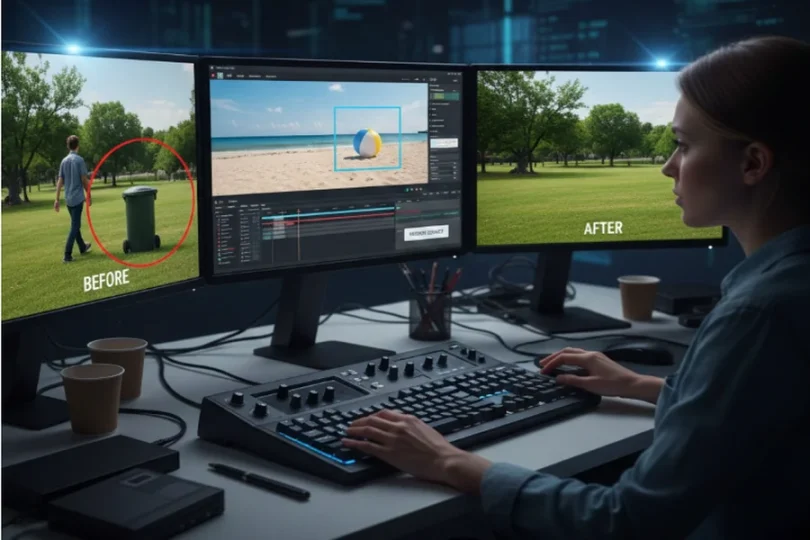
What Object Removal in Video Really Means
Object removal in video is the process of hiding or replacing an element across multiple frames while keeping motion, lighting, and background looking natural. Unlike photos, you’re not fixing one image—you’re fixing dozens (or hundreds) of frames that change over time.
That’s why results vary. Some videos clean up beautifully. Others end up with visible glitches, blur, or unnatural patches.
Things to Know Before You Start
Before choosing a technique, a few realities matter:
- If the camera moves a lot, removal becomes harder.
- If the background is complex (crowds, trees, reflections), tools struggle more.
- If the object crosses in front of important details, perfect removal may not be possible.
Object removal works best when expectations are realistic. Sometimes the cleanest fix is not removing the object at all—but hiding it creatively.
Technique 1: Built-In Object Removal Tools in Video Editors
Some modern video editors include object removal or content-aware fill features. These tools analyze surrounding pixels and attempt to rebuild what should be behind the object.
Where this works well:
Short clips with minimal camera movement and simple backgrounds—like a static wall, sky, or floor.
The upside:
It’s convenient and fast. You don’t need advanced editing skills, and the workflow stays inside one editor.
The downside:
Results can look soft or “painted.” If lighting changes or the background has texture, the fix may be noticeable. These tools also struggle with long clips.
This method is best for small distractions, not major elements.
Technique 2: Masking and Tracking the Object Manually
Masking involves drawing a shape around the object and either covering it or replacing it, while tracking keeps the mask aligned as the object or camera moves.
Why editors still use this:
Manual control gives better accuracy than automatic tools. You decide exactly what gets hidden and how.
The good part:
Cleaner results in difficult scenes. You can fix issues frame by frame and adjust for lighting or motion.
The trade-off:
It takes time and patience. For long videos, this approach can become exhausting.
This technique makes sense when quality matters more than speed.
Technique 3: Replacing the Object with a Clean Background Frame
This approach uses nearby frames—before or after the object appears—to reconstruct the background. Editors often freeze or clone frames to hide the unwanted area.
Best use case:
Static shots or scenes where the background doesn’t change much.
Strengths:
Natural-looking results when done carefully. No AI guesswork involved.
Limitations:
Falls apart if the camera moves or if shadows and reflections shift. The fix may feel “stuck” to the screen.
This method is practical, but only under the right conditions.
Technique 4: Using AI-Based Video Object Removal Tools
AI tools analyze motion and background patterns to remove objects automatically across frames. These tools are often used for tasks such as removing background distractions or even when someone wants to remove watermark from video footage without manually editing every frame.
Why people like them: They’re fast and increasingly accurate. For casual content, they often do a “good enough” job.
Where they shine: Simple scenes, social media videos, and short clips where speed matters more than perfection.
Where they struggle: Crowded scenes, fast motion, overlapping objects, and fine details like hair or shadows. AI can also introduce flickering artifacts.
AI tools save time, but they don’t replace careful editing yet.
Technique 5: Cropping, Reframing, or Zooming Strategically
Sometimes the smartest move is not removal—but avoidance.
By slightly cropping or reframing a shot, the unwanted object disappears naturally.
Why this works: No artificial fill, no visual artifacts, no complex edits.
Downsides: You may lose resolution or change the composition. Overuse can make videos feel tight or awkward.
This technique is underrated and often the cleanest option.
Choosing the Right Technique
There’s no single “best” method. The right choice depends on three things:
how much the camera moves,
how complex the background is,
and how perfect the result needs to be. For casual videos, faster methods are usually enough. For professional or long-form content, manual control often produces better results—even if it takes longer.
Common Mistakes to Avoid
One common mistake is pushing tools too far. Over-smoothed areas, flickering patches, or unnatural blur draw more attention than the original object.
Another mistake is ignoring shadows and reflections. Even if the object disappears, its shadow often remains—and viewers notice.
Lastly, many editors try to fix everything in one pass. Small, incremental fixes usually look more natural.
Final Verdict
Removing unwanted objects from video is part technique, part judgment. Just because something can be removed doesn’t mean it should be. Sometimes AI tools—including options like gstory ai video editor—are enough. Sometimes manual work is necessary. And sometimes the best solution is simply reframing the shot.
Understanding the strengths and limits of each method helps you choose the cleanest, least noticeable fix—without wasting time or damaging video quality.